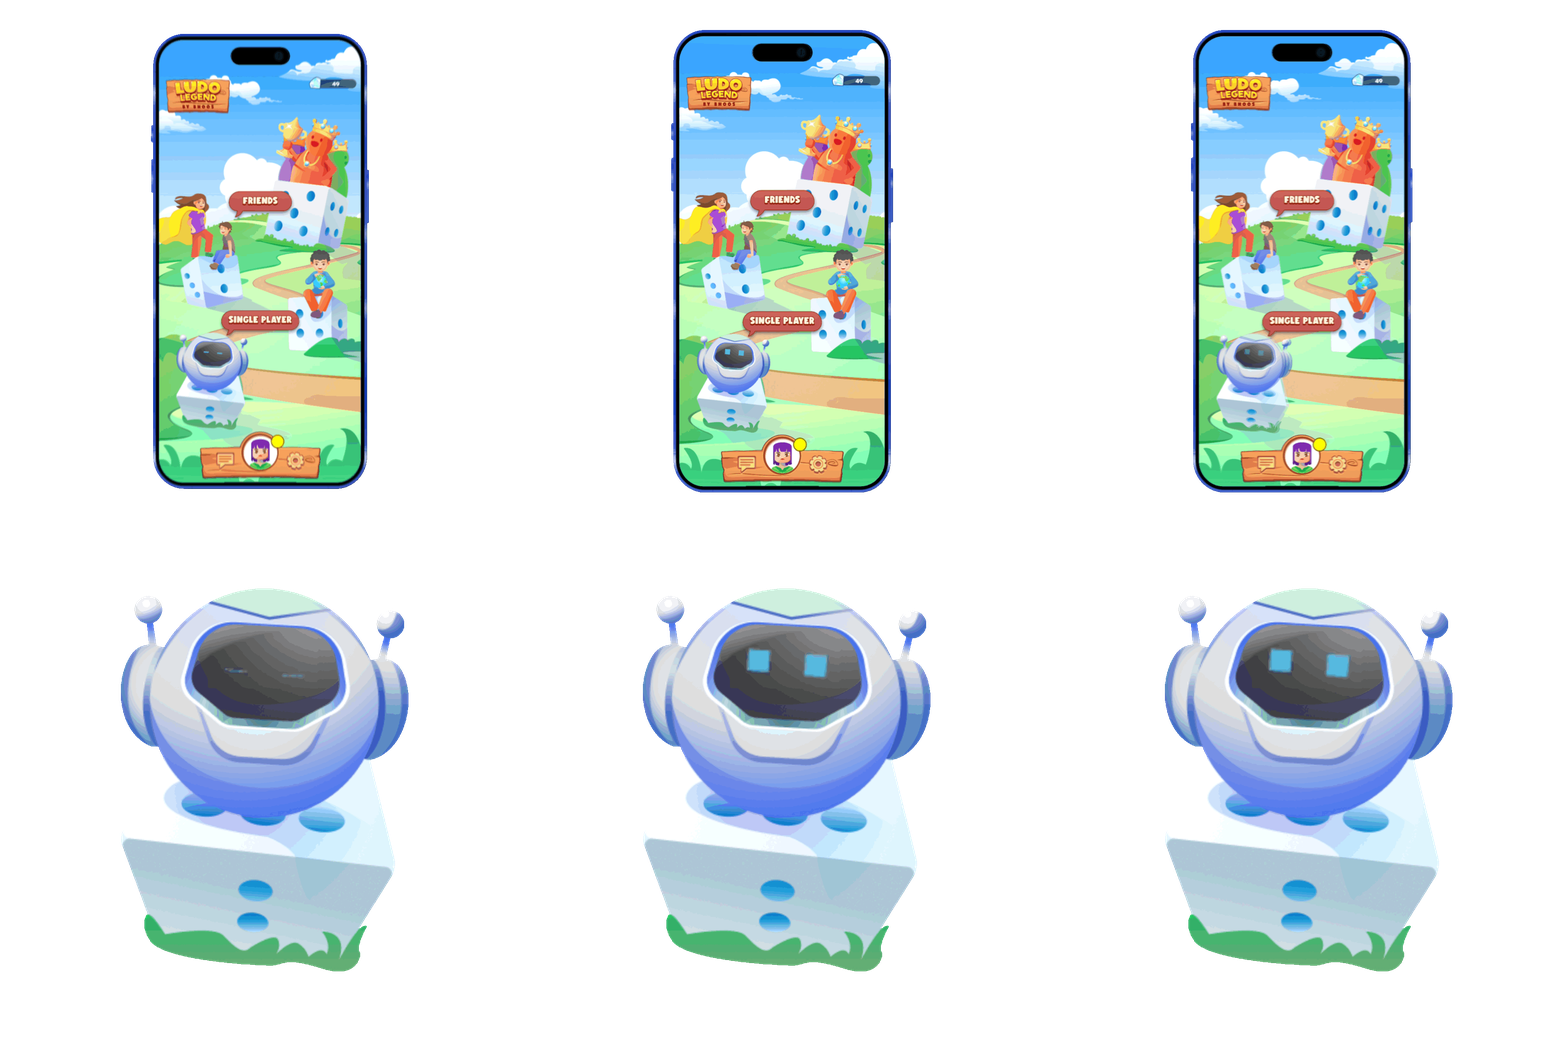
In the world of user interface design, animations have become an essential element for creating engaging and interactive experiences. Among the various animations that can breathe life into an interface, the blinking eye animation holds a special place. The subtle yet captivating movement of an eye can add personality, expressiveness, and charm to any user interface.
The bot eye animation we crafted for the Ludo Legend highlights our UI background, and it was an absolute delight to bring it to life.

We used React Native framework for the blinking eye animation. Here’s the step-by-step guide to implement the animation.
First, initialize the necessary constants. SIZE variable stores the size of the eye, which is essentially just a square, DURATION which stores the total duration of the animation and DELAY which stores how long to wait before starting the animation.
const SIZE = scale(9); // size of the square or the eye!
const DURATION = 1000; // animation duration in ms
const DELAY = 2000; // 2 second delay before starting
We then create input and output ranges. Here we are defining 8 possible values for scaleYAnimStyle or the height of the eye as outputRange and inputRange is simply an array of numbers from 0 to 7. Each number within inputRange corresponds to a specific value of scaleY inside outputRange. startValue and endValue store the starting and ending values of the animation, as the name suggests; note that they are the first and the last value of the inputRange array. After that, we create an animated value named aniamtedValue, which is the standard way of doing animation in React Native. Then we create a constant named scaleY which does the actual mapping of the inputRange to outputRange, so when the value of animatedValue is 0 the value of scaleY will be 0.5, and the eye will be half the size and so on.
Now we need a variable to store the actual animation sequence and its configuration, which is done using the animation variable, as you can see below.
In its configuration, we are using Easing.linear. It produces a linear animation i.e., animation progresses at a constant speed from start to finish without any acceleration or deceleration. Easing functions are essential in giving animations a more natural and pleasing look. They are used to customize the behavior of the animation by controlling its speed and smoothness. There are different types of easing functions available in the React Native framework.
const inputRange =  [0, 1, 2, 3, 4, 5, 6, 7];
const outputRange = [1, 0.5, 0, 0.5, 1, 0.5, 0, 1];
const startValue = inputRange[0]; // start value of the animation -> 0
const endValue = inputRange[inputRange.length - 1];
// end value of the animation -> 7

const animatedValue = new Animated.Value(startValue);
// the value that is animated

const scaleY = animatedValue.interpolate({ inputRange, outputRange });
// scales the height of the eye

const animation = Animated.sequence([
  Animated.delay(DELAY),
  // wait before starting the animation

  Animated.timing(animatedValue, {
    toValue: endValue,
    duration: DURATION,
    useNativeDriver: true, // for performance
    easing: Easing.linear, // constant speed
  }),
]);
After that, we create a hook that makes it easy to start and stop the animation.
function useAnimation() {
  useEffect(() => {
    Animated.loop(animation).start();
    return () => animation.stop();
  }, []);
}
Here the animation is started in useEffect when the component is mounted. And the animation is stopped when the component is unmounted. useEffect is a React Hook that performs side effects inside function components. You can learn more about it here. The final component looks as follows. There are two Animated.View’s using the scaleYAnimStyle since there are two eyes to animate!
export function AniamtedBotEyes() {
  useAnimation();

  const scaleYAnimStyle = {
  // to change the center of scaling to center of eye

    transform: [
      { translateY: SIZE / 2 },
      {
        scaleY,
      },
      { translateY: -SIZE / 2 },
    ],
  };

  return (
    <View style={style}>
      <Animated.View style={[styles.eye, scaleYAnimStyle]} />
      <Animated.View style={[styles.eye, scaleYAnimStyle, { left: scale(24) }]} />
    </View>
  );
};
scaleYAnimStyle is the animation style applied to the Animated.View component. translateY is used before and after scaleY to scale the eye from its center while maintaining its original position. The eye is initially moved down by half of its height, scaled based on the value of anim at that time, and then moved back up to its original position after the scaling animation is complete. And as mentioned before scaleY uses interpolation to basically map inputRange to outputRange.
Finally the basic styles applied to make a View looks like Square Eyes using the SIZE constant we created earlier!
const styles = StyleSheet.create({
  eye: {
    position: 'absolute',
    width: SIZE,
    height: SIZE,
    backgroundColor: '#54D1FC',
    opacity: 0.8,
  },
});
If you love more of a video approach, here’s how to do it:
The blinking eye animation is a captivating addition to any user interface, offering a range of benefits from enhancing realism and engagement to eliciting emotional responses and guiding attention. When implemented thoughtfully and aligned with the overall design language, such animation can make an interface come alive. See the blinking eye for yourself in Ludo Legend.
